Add Google Analytics 4 to a site using Google Tag Manager
Add Google Analytics 4 to a site using Google Tag Manager
Scaling Trade
Share Article:
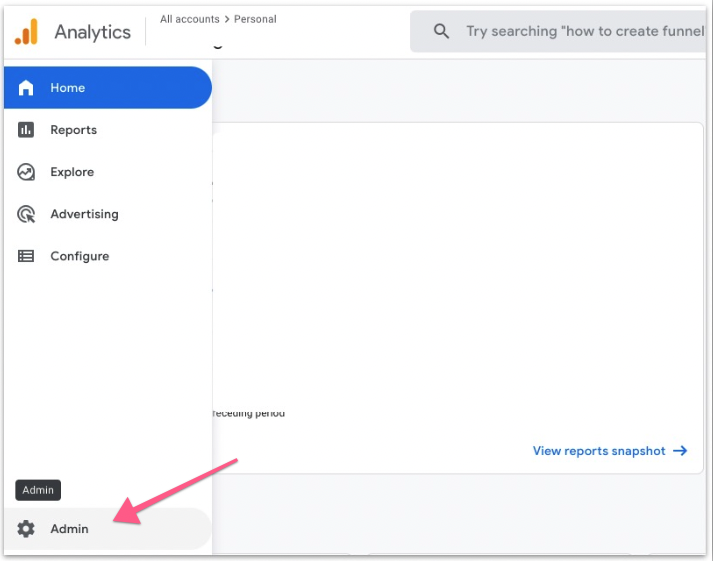
You need a Google Analytics 4 account created. If you haven’t made one, then follow this guide. Also, you should have installed Google Tag Manager on your site. If you haven’t added Google Tag Manager to your site, you can check out our Google Tag Manager Installation Guide for WordPress or Shopify.
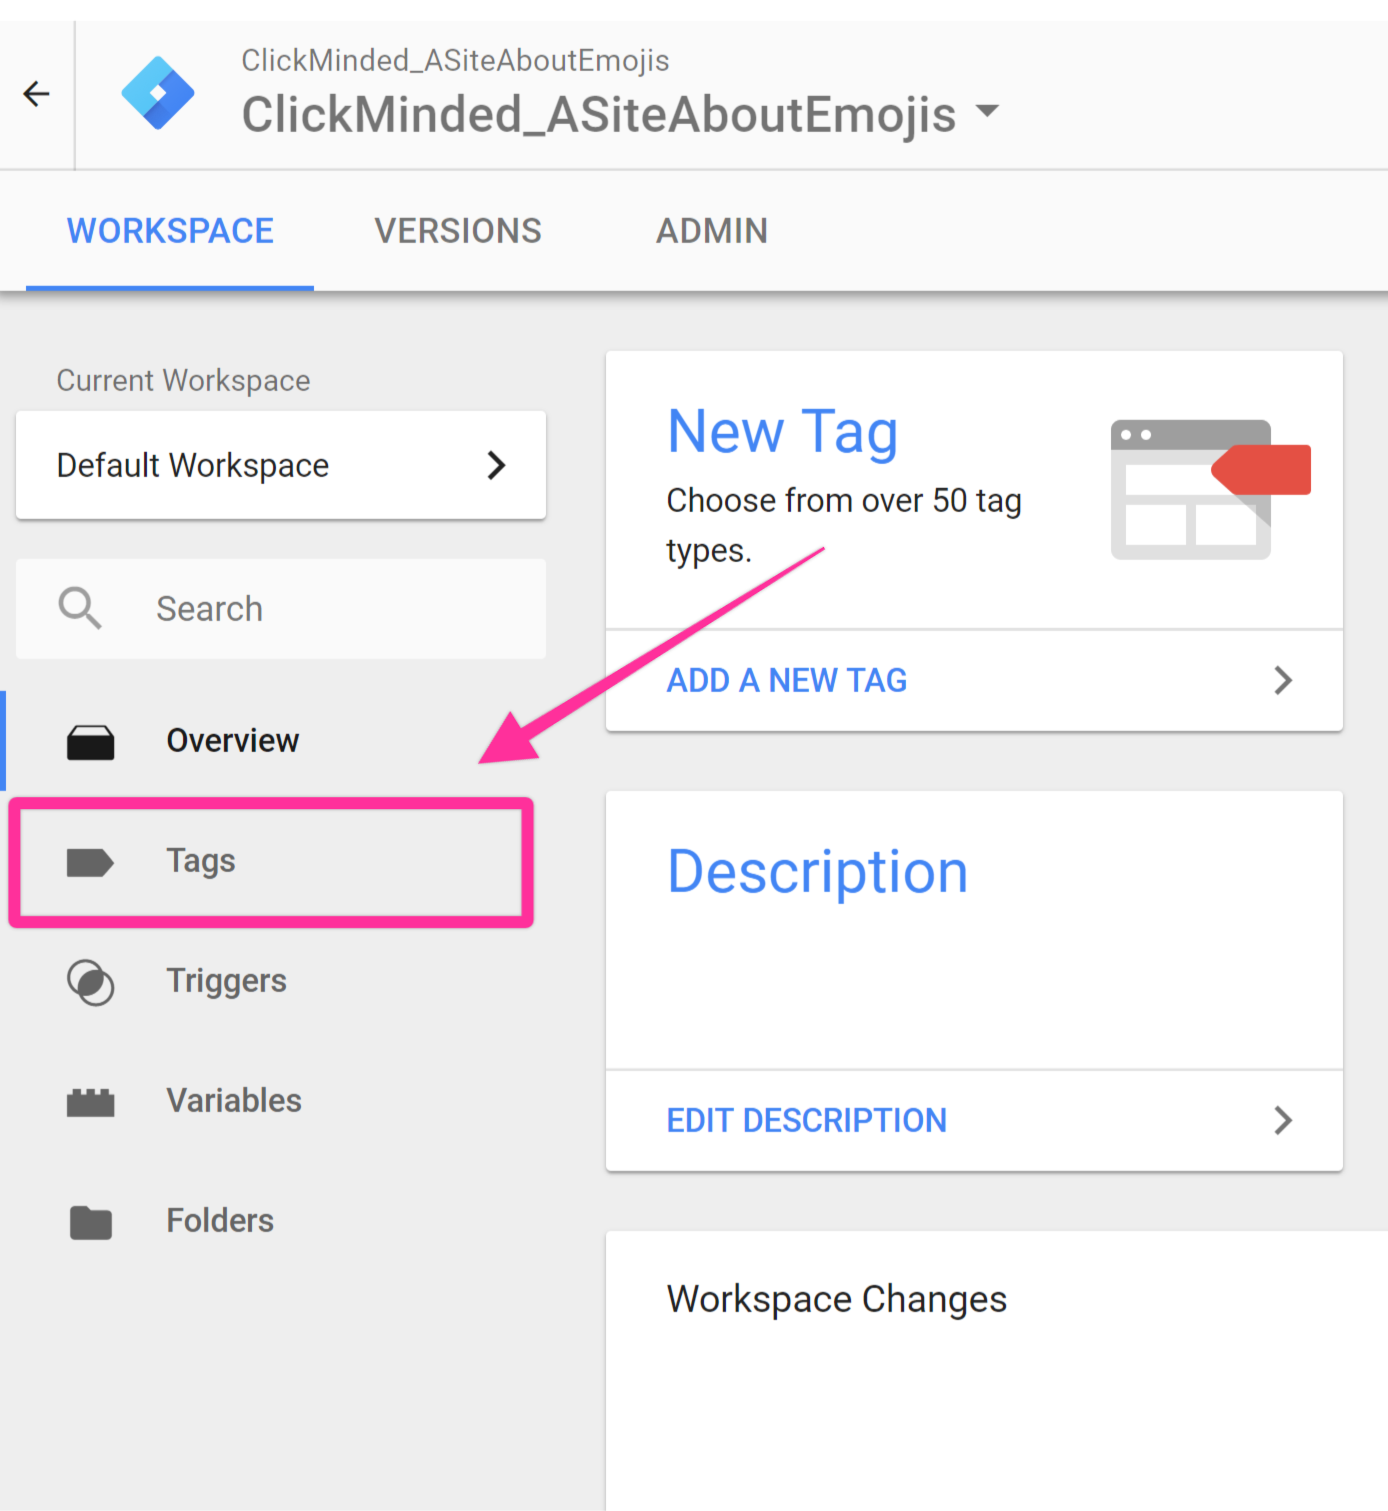
Select the container that is set up on your website.
Go to “Tags”:
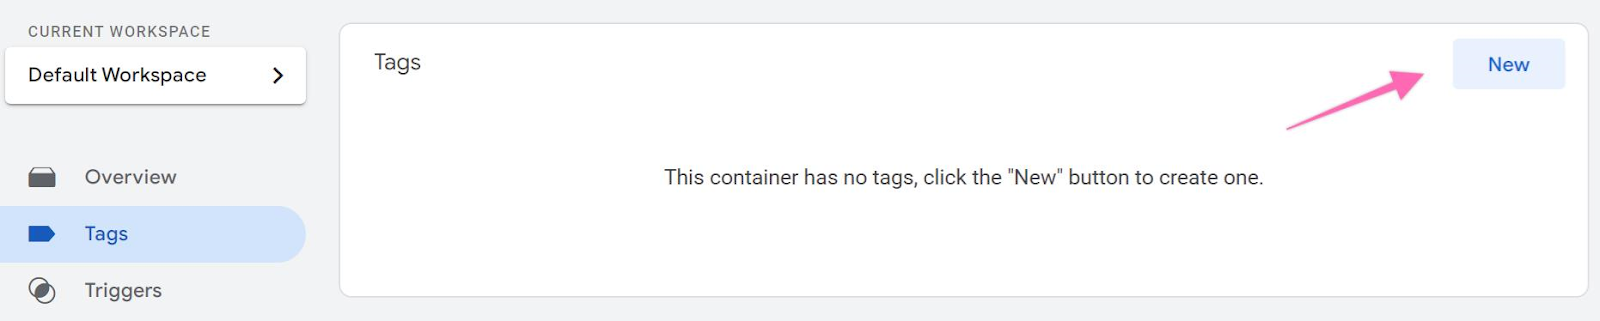
Click “New” and rename your tag. It is recommended that it contains a mention to Google Analytics 4 as it would make it easier in the future to locate the tags you are looking for.
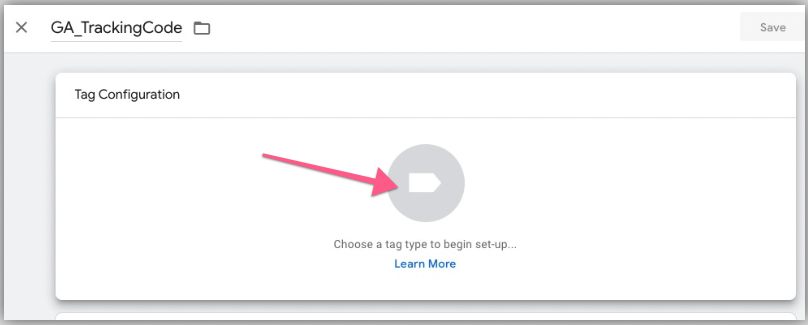
Note: When creating new tags it’s recommended to define a naming convention from the beginning, this keeps your Google Tag Manager set up neatly organized and easy to maintain for many years to come. [Abbreviated Name Of Tool]_[Use for this tag] is a good start. e.g: “GA_TrackingCode”
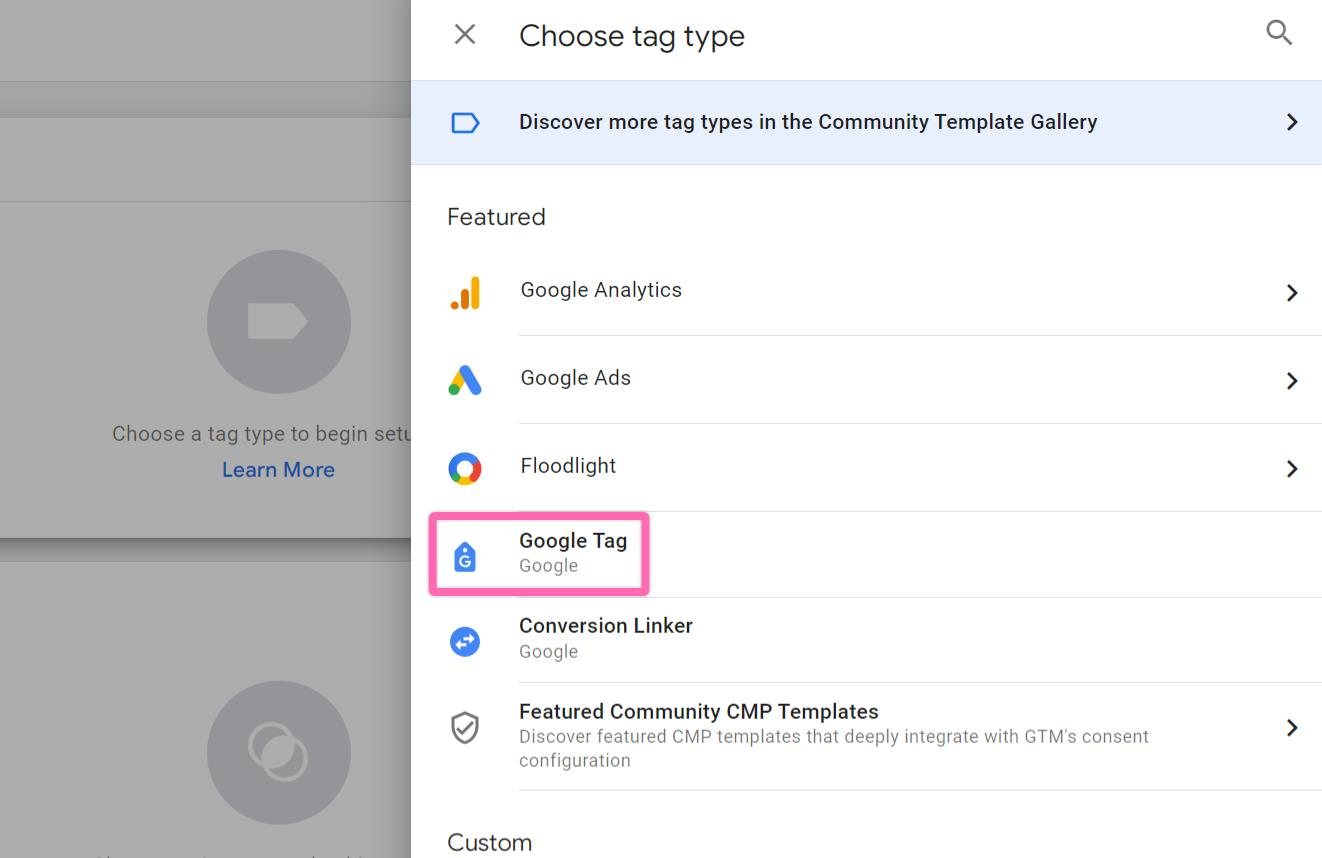
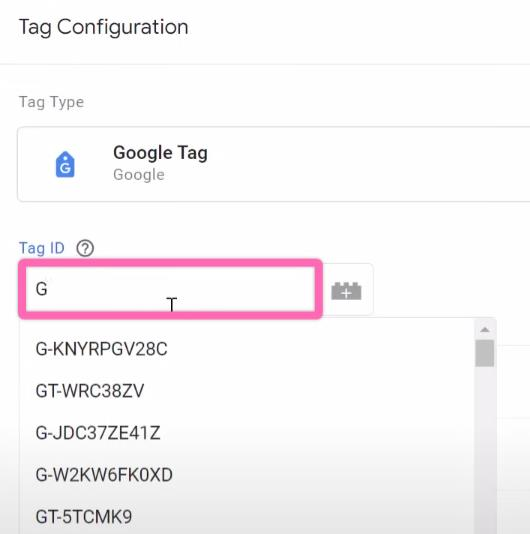
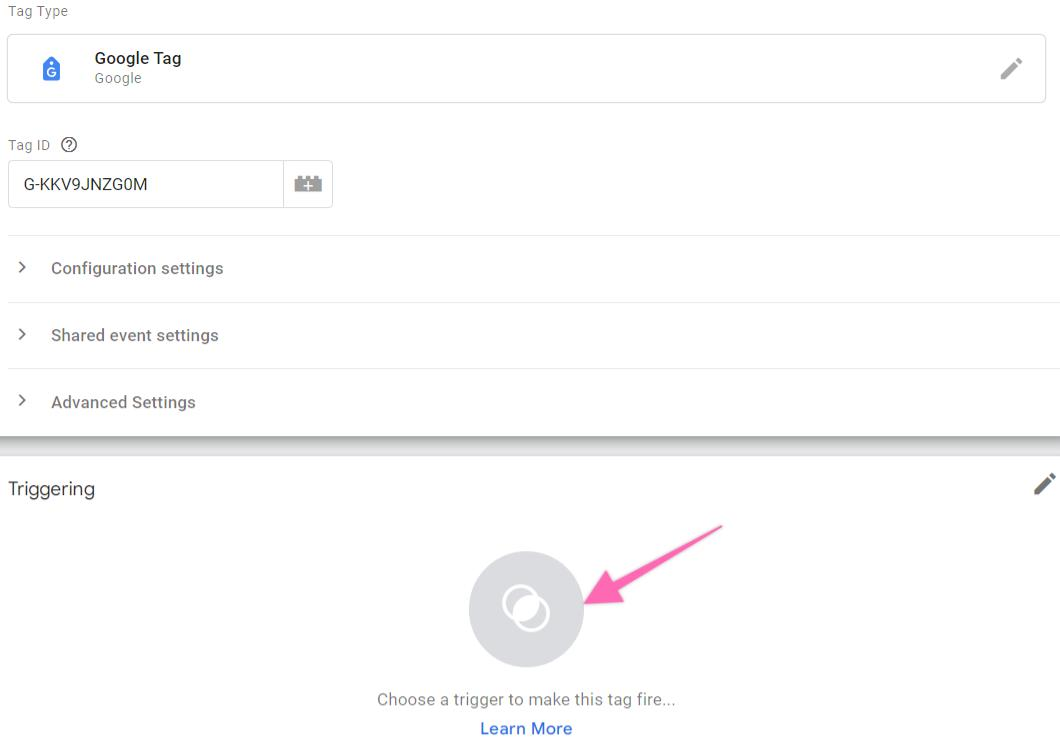
Click on the “Tag Configuration” icon and select “Google Tag”:
Note: In early September 2023, the new Google tag has now replaced the Google Analytics 4: GA4 Configuration tag with two settings variables. Read more here.
Next, scroll down and click on the Trigger icon below to set up a trigger for this tag.
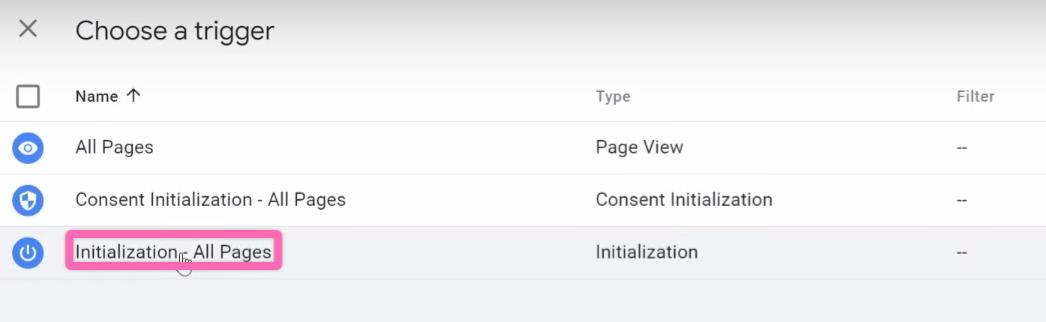
Select “Initialization- All Pages”. This is to fire the Google Analytics 4 on all pages on your website (recommended).
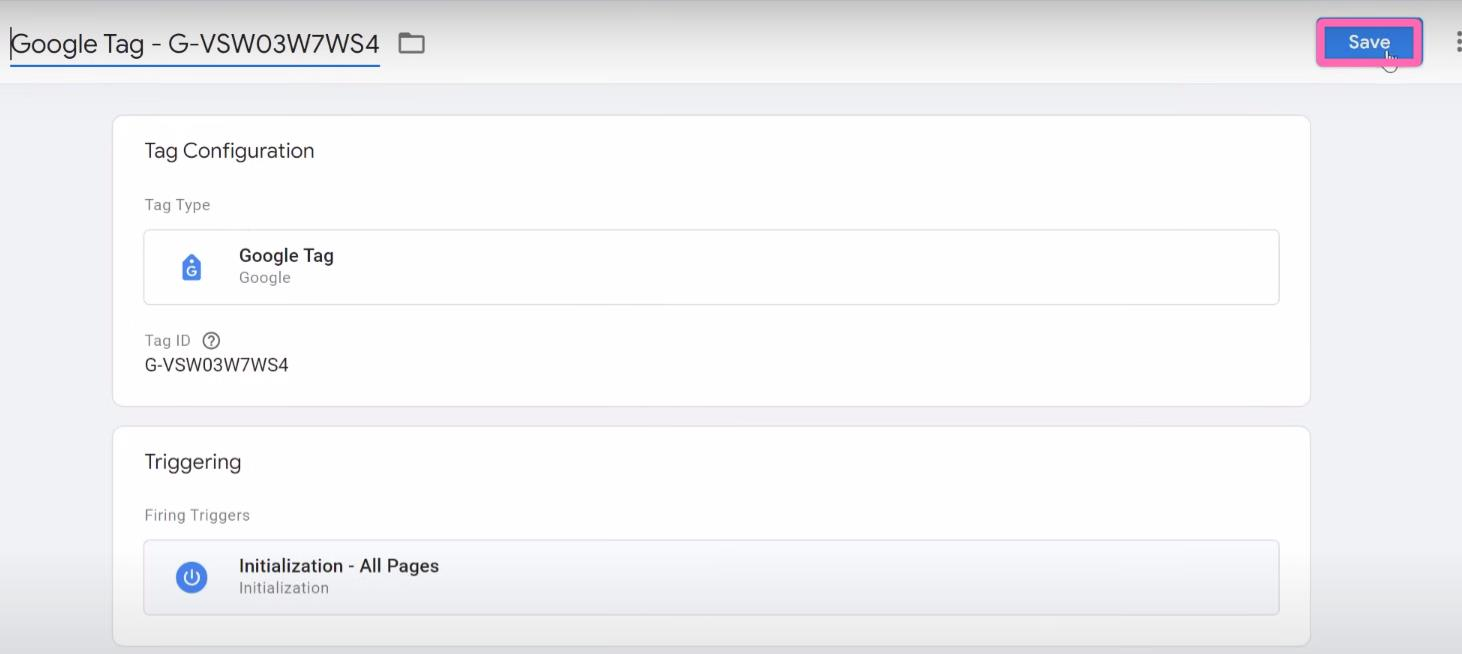
You are now ready to save your settings by clicking “Save”:
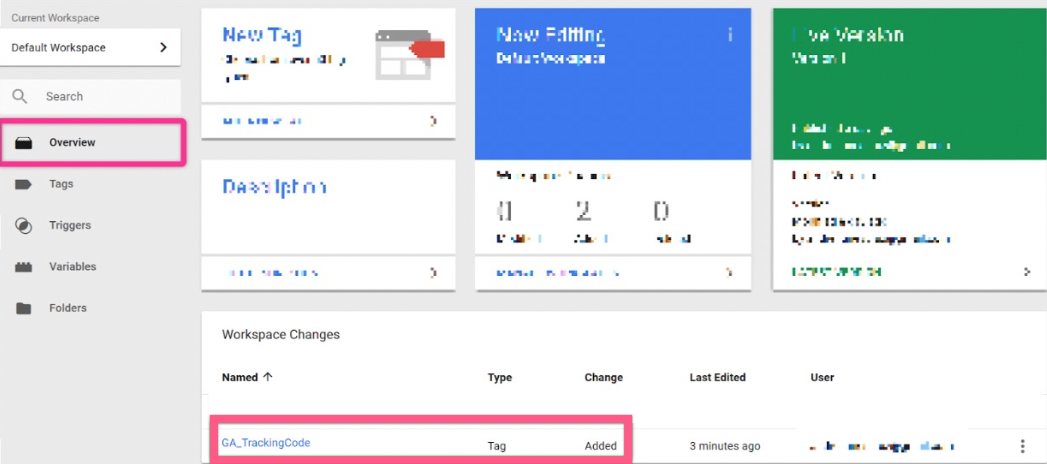
Next, go to the “Overview” on the sidebar. This is how your Google Tag Manager overview dashboard should look like:
If everything looks okay, you are ready to hit “Submit”.
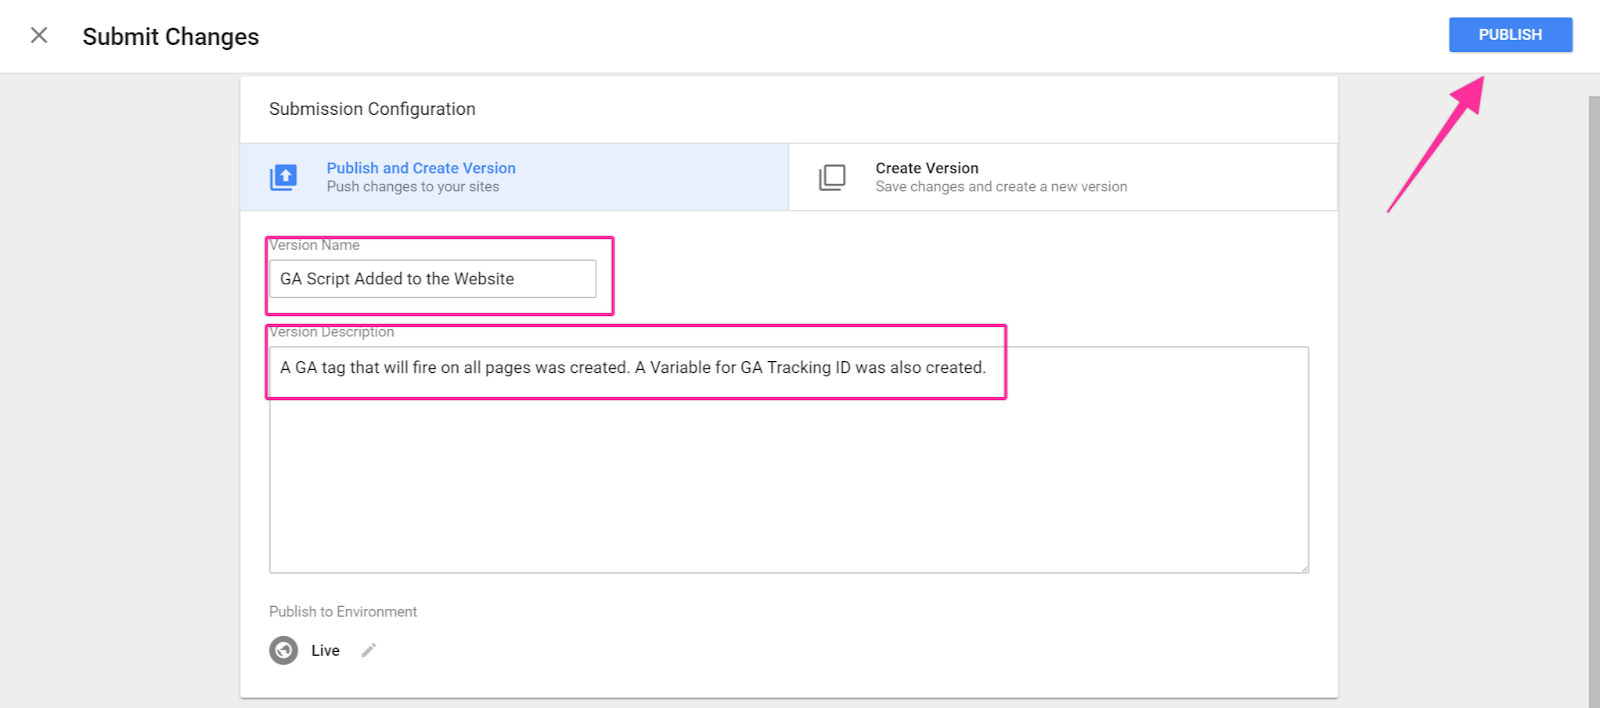
In the Submission Configuration panel, you will be given the chance to add a name and description to this version. After you have done so, hit “Publish”.
Note: Adding a name and description is optional but recommended. You should enter the information here that will make it easy to know what changes are being made.
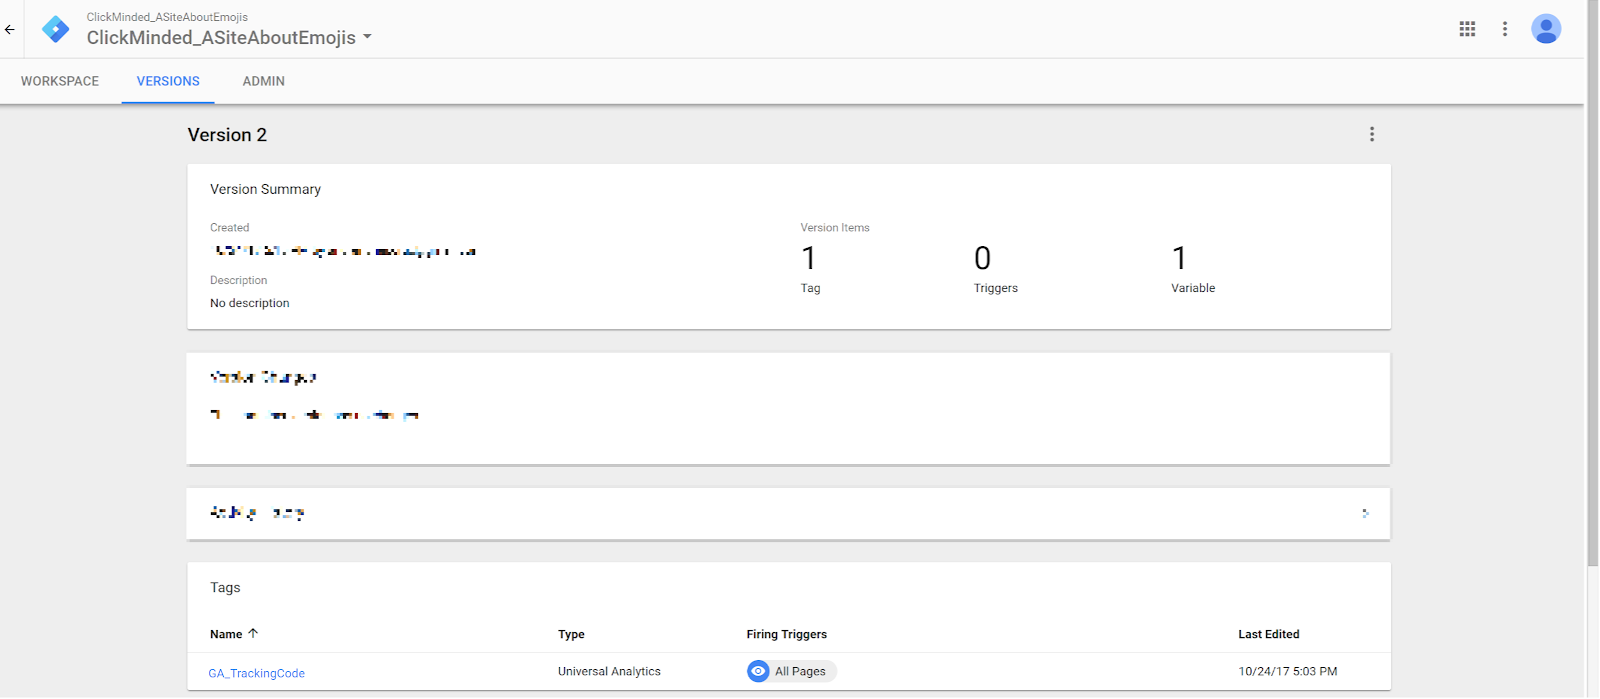
You will now be taken to see the summary of the changes you’ve just made:
Verify your set-up with a Tag Assistant Companion
Select the container that you have already set up.
Select “Preview”.
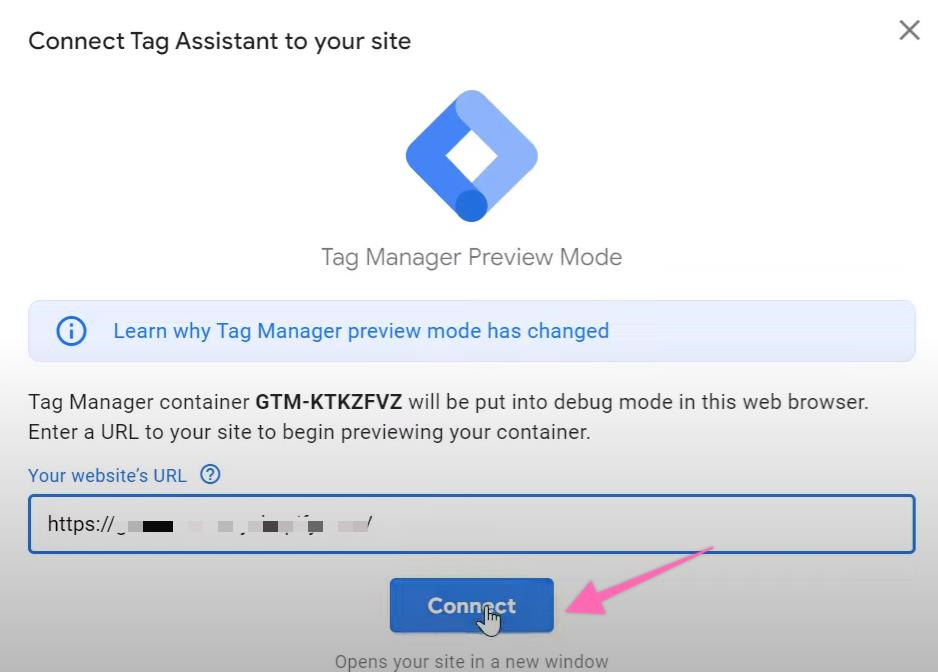
A new tab will appear to connect a Tag Assistant to your site. Key in your website URL and click “Connect”.
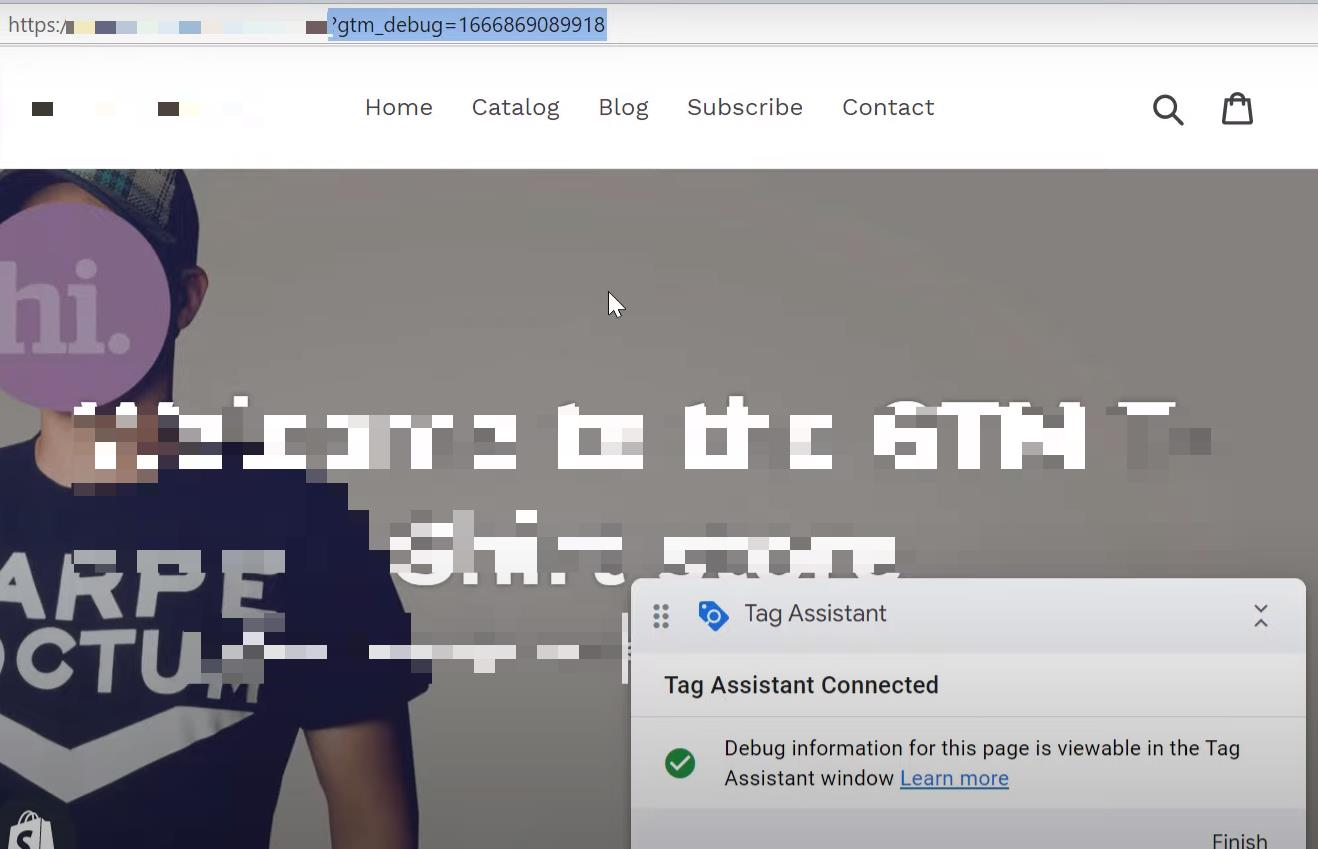
This will open a new window to verify your website with a debug parameter at the end of your website URL. We recommend closing this window and using an extension instead, as explained below.
Next, download the “Tag Assistant Companion” extension from this link here.
Refresh the Google Tag Manager page, click “Preview”, and then “Connect” again.
This time, a new tab will appear instead of a new window with the installed Tag Assistant Companion. The Tag Assistant Companion icon should appear in the tab as shown below, which means it is now connected:
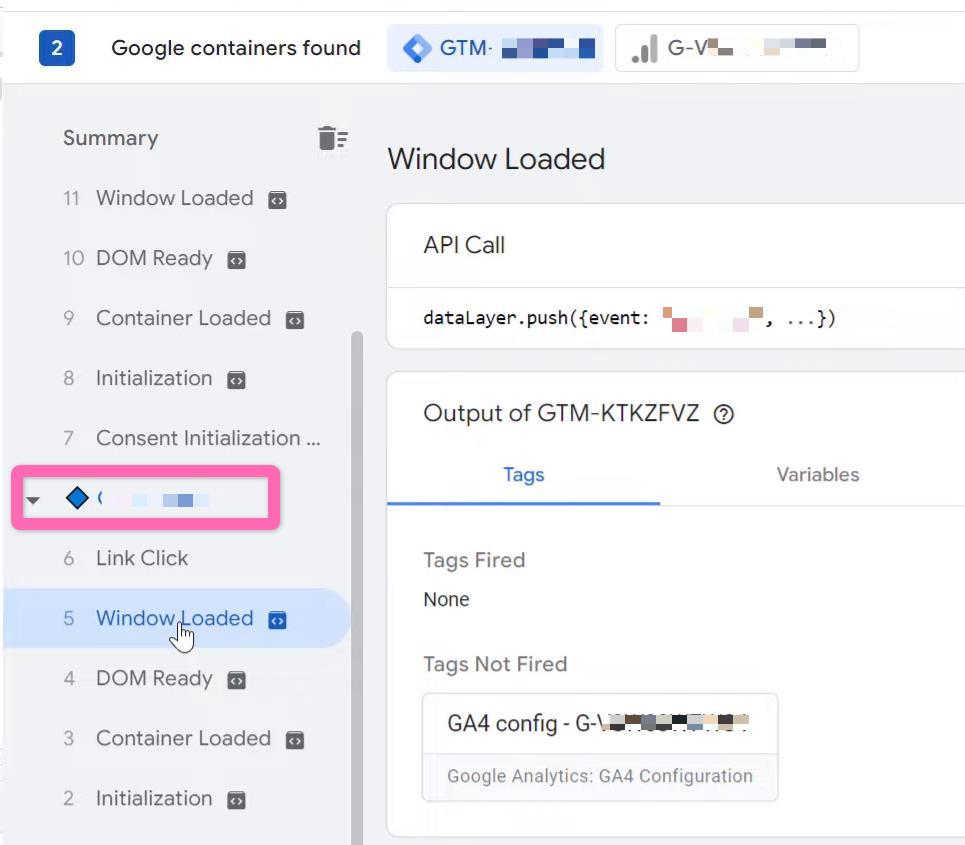
Next, navigate through the pages of your website. The Tag Assistant Companion will automatically load your page events as seen on the left:
Refer to this link here for the definition of each page view trigger.
A shaped icon on the left represents each page on your website. For more tag details messages such as blue, red, yellow, or green icons, please refer to this link here.
To troubleshoot any issues encountered in the Tag Assistant Companion, refer to this link here.